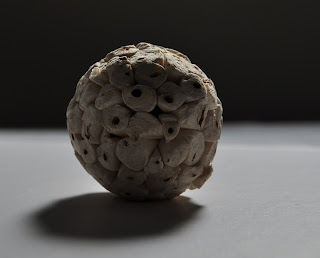
For this exercise I took a similar object and shot the following sequence:
Light to the side. The object is lit on one side with the other in shadow.
Light towards the back and to the side. The light falls on the edge of the object giving it shape.
Backlit - the shape of the object is clear from the silhouette.
Light directly on top. You can see the shadow underneath the object which is the same shape as the object.
Lighting on top and to the rear. The top of the object is lit with the bottom in shade. The shadow is a little harsh but it does give form to the object.
Lighting on top and to the front. Small shadow with all theobject lit. Less distracting shadow pattern.
I then had to take these shots with the light at a 45 degree angle from the object.
Side - casts more of a shadow and illuminates more of the object.
Front - shadow stretches further back.
Side and to the back
Backlit - you can see more of this than with the camera horizontal to the object.
The position that gives the best 3-dimensional effect is with the light on top or from the side. Shooting into the light or with the object front lit makes for a pretty flat image especially is the shadows are light.
I like the side lit shots with one side in shade and the other lit. It creates an interesting mood into an image.


No comments:
Post a Comment